What Can We Do For You?
We are professionals for attractive, responsive and stylish web design and development in Nairobi, Kenya.
Web Design
We offer creative web design using the latest technologies.
Web Hosting
We host your websites on premier web servers in the cloud.
Domain Registration
We register your international or Kenyan domain.
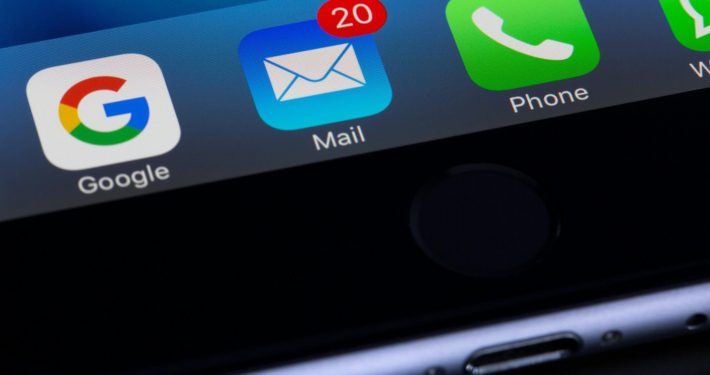
Emails
We offer email hosting with up to unlimited disk space.